This is the second post in a three part series on using Genesis and Angular. Part 1 can be read here, and Part 3 can be read here.
In my last post on the subject, we left off with two-way bindings to show that our Angular markup was working in Genesis. That’s great! But we want to use Angular to display content in Genesis using the WP REST API, right?
Ok, so, we’ve got some work cut out for us. Let’s dive back in. Unless otherwise noted, everything is in functions.php and custom.js
Note: this is not best practice, as you want to keep your code in modular files, but hey, this is just a quick bootstrapping example… We’re just learning here!
Let’s get start…
Hello World with $https Posts and the Rest API
The first thing that we want to do is get our “Hello World” going for Angular in Genesis. This isn’t too hard, and we just need to do two things:
- Create a view area that will display our posts (we already have one:
example). - Request the posts from the WP REST API using Angular’s
$httpsservice.
Sounds simple, right? Here’s what we need to do. First, we add the view:
Looking good so far! Ok, we need make the request from the posts endpoint on the WP REST API. To do that, we use the following service in our controller:
The $https service in Angular is uses a lot to make requests to endpoints. We’ll get used to using it and will probably refactor this later. For now, let’s refresh our browser and see what we get…
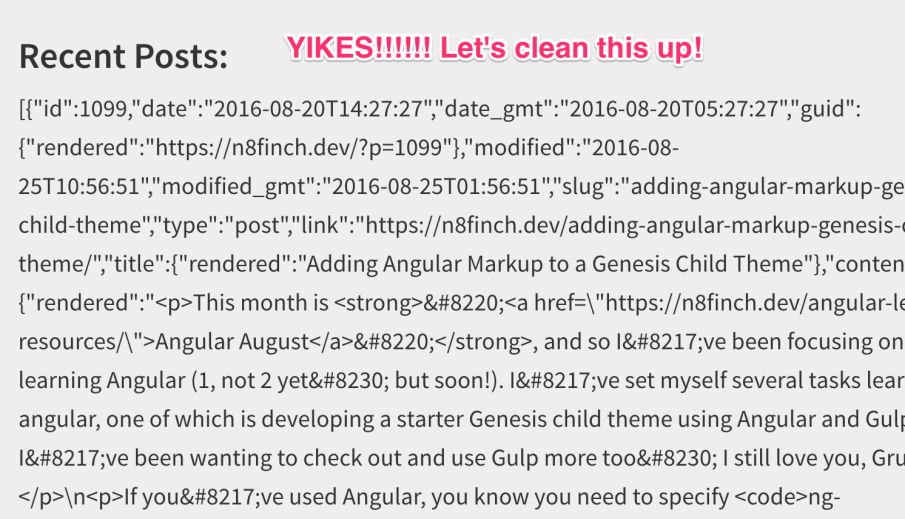
And we get this:
Not what we’re looking for, but close! We can see that JSON data is being returned to us, and if we look close enough, we can see that these are indeed our posts.
Great! We’re on the right track. Let’s keep truckin’…
Formatting the Posts
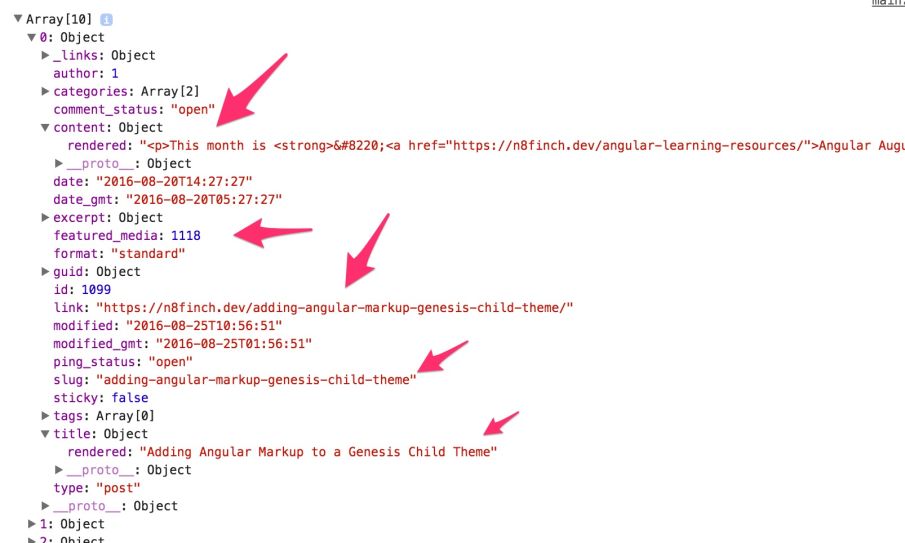
So, what are we working with? If you console.log(res) and check the console, you will hopefully see a list of returned JSON objects. These are the posts comping from the WP REST API. The beautiful thing is you can get these from any other website too (yeah, the WP REST API is pretty cool):
If you look at all of these keys in the object, you’ll probably see some things you recognize:
- the content
- featured media
- link and slug for the post
- the title
- post meta and more…
We need to transform the ugly JSON response showing up on our home page to something that’s a little… easier on the eyes, let’s say. To do this, we want to add a filter to our controller. This will clean up the JSON.
While we’re at it, let’s cache the posts in a variable:
Good! Now that we’re going to have some cleaned up output, let’s add some other elements we’ll want to display the posts with. Like the WordPress loop, we want to repeat all the posts we have. This is easy to do with Angular. All we need to use is ng-repeat in our PHP template file:
Even without styling, things are starting to look a little better:
Linking the Returned Posts to Their Individual Posts
Remember, we’ve decided we want our view in all the pages of our theme to return the content, whether it’s a blog post, a list of posts (like we have now) or a page. This involves routing and we’ll come back to this later, as it’s a little complicated in Genesis, and complicated enough to understand.
For now, we’ll just keep working on our home page loop.
Don’t Forget the Author or Featured Image: Making a Custom Route with the WP REST API
For this section, I’m not going to re-invent the wheel. I used the register_api_fields arrangement from Morten Rand Hendriksen’s plugin Go Further from his Lynda.com course linked below. It was an excellent course and I highly recommend it. I’ve modified the code a little so that the callbacks will fetch the correct image. I’ve added a category_name route to this as well:
This allows us to change our markup to include the two new api fields returned:
author_namewhich will display thedisplay nameset in the adminfeatured_img_srcwill get us the feature image url
Why these two endpoints don’t come standard with the WP REST API, I’m not sure, maybe I’ll make a pull request…
But! Before I get distracted, on to implementing the new endpoints in our code:
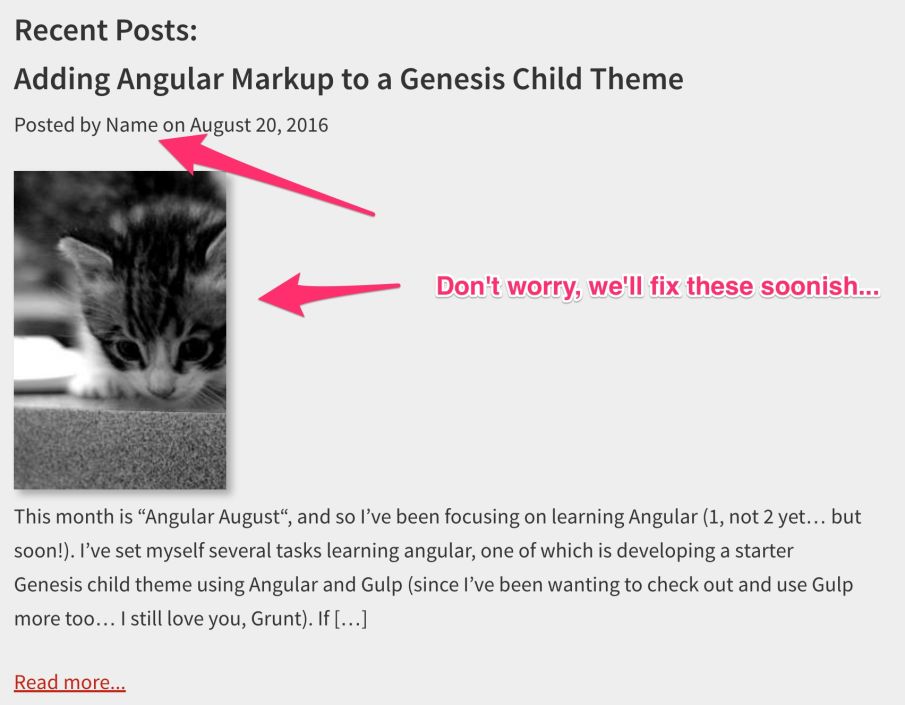
Excellent! We’ve got the Author Name and Featured image, just like we needed. It still doesn’t look very nice, but we’ll fix that now.
A Little Styling Cleanup
Before we wrap up, let’s add a little styling cleanup to the work we’ve done. I’m just using the classes from the Genesis Sample theme (plain and simple!). The basic idea is that the sample theme styles are already there for us. Let’s use them!
You may notice that this gist is an html file. This will lead into the next post on routing, but for now, you can substitute in the class styles and HTML5 tags where you had unstyled divs before.
Now we’ve got posts looking a lot more like what we’re used to:
Phew! That was a lot. I hope you stayed with my for that. If anything didn’t make sense, let me know.
In the next post, we’ll tackle routing with Angular in Genesis, which presents some interesting quirks.
Cheers!
Helpful Links
These are some great reference links, and
https://docs.angularjs.org/api/ng/directive/ngRepeat
https://docs.angularjs.org/api/ng/filter/date
https://docs.angularjs.org/api/ng/directive/ngSrc
https://www.lynda.com/WordPress-tutorials/WordPress-REST-API-WP-API-First-Look/383783-2.html
https://coffeecupweb.com/how-to-get-featured-image-thumbnail-url-using-wp-rest-api/
