Recently, I was asked to add a button to the visual editor for posts and pages on a WordPress install that would insert the <!--nextpage--> code for article pagination . I had done this before, but wanted to write about it here, since I’d totally forgotten how to do it, and wanted to make sure I had a snippet or two for reference.
TinyMCE is described on their site as:
The most advanced WYSIWYG HTML editor.
Whether it is or not, I don’t know, I haven’t tested them all. Suffice to say this is what is in WP Core, so this is what I’m using!
There’s some helpful documentation and code snippets on the TinyMCE WordPress Codex page as well. After reviewing everything, it looks like all I need to do is:
- determine which filter to hook into
- find out if the button I need already exists but isn’t being used
- make a custom button if one is not already provided in Core.
Thankfully, I found what I needed in Core, but if I had to make a custom button, I’d start my research here, and also find a plugin that adds a custom button to the TinyMCE WYSIWYG editor.
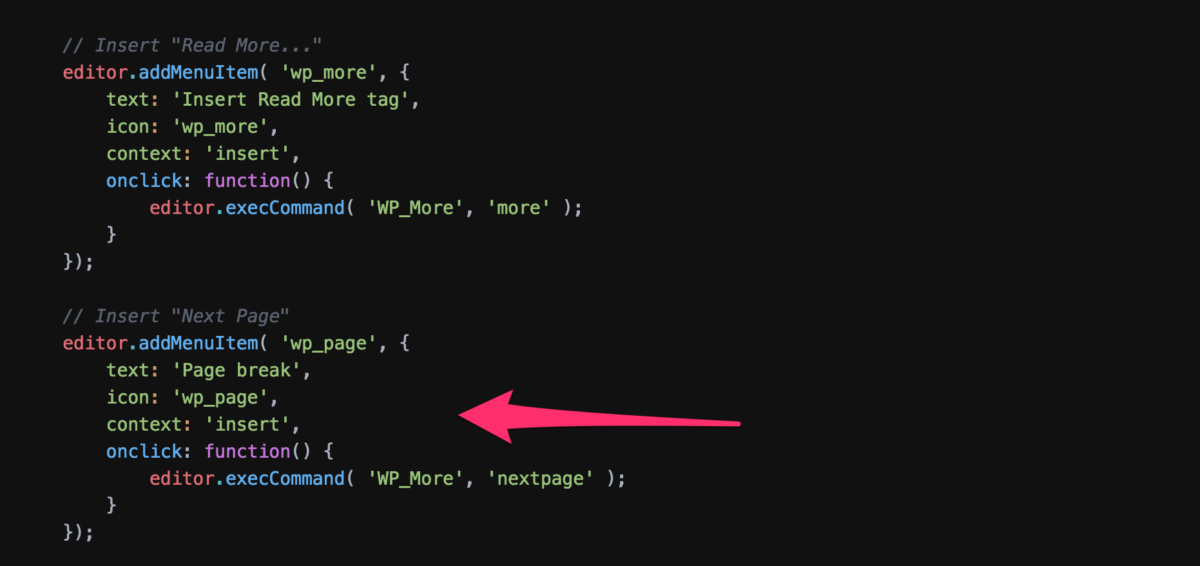
After grepping for the “Read more…” tag, I found some other available button objects in the following file:
wp-includes/js/tinymce/plugins/wordpress/plugin.js
These included the “Read more” button and the “Page break” button, which is what I needed.
The simple filter to add the code back in is below.
/**
* Add Next Page Break into TinyMCE in the second row
*/
function n8f_add_page_break( $buttons ) {
/**
* Add in a core button that's disabled by default
*/
$buttons[] = 'wp_page';

return $buttons;
}
add_filter( 'mce_buttons_2', 'n8f_add_page_break' );
It could not have been easier… Ok, maybe a little easier, but this is the simple way I went about how to use a filter on TinyMCE to add buttons.